NZBGet
| Rating | |
| Price | Free |
| OS | Linux, Windows, macOS, BSD, Unix, and various NAS devices |
| Features | Fast and multi-platform |
| Fast, lightweight | |
| Constant Development | |
| Par Check and Repair |
NZBGet is right up there with SABnzbd in terms of popularity. This USENET downloader is a solid piece of software with plenty of features, good security and cross-platform capability. One of its standout advantages is its ability to work exceptionally well on low-powered or older devices, such as older computers or Raspberry Pi, giving it an edge for those with less powerful hardware.
Key Features:
- Cross-platform compatibility: Runs on Linux, Windows, macOS, and various NAS devices.
- Written in C++: NZBGet is built in C++, which contributes to its efficiency and performance.
- Web interface: Provides an easy-to-use web interface for managing downloads.
- Par check and repair: Automatically checks and repairs par files, ensuring data integrity.
- Client/server mode: Supports client/server mode for flexible usage scenarios.
- Lightweight resource usage: Very lightweight in terms of resource demands, making it ideal for older computers or devices with minimal processing power. Works well with media players, routers, and NAS devices, adding to its flexibility.
Recent Developments:
- Continuous improvement: Since 2014, NZBGet has made significant advancements, positioning itself on par with, or even surpassing, big-name newsreaders like SABnzbd and Newsbin. Up-to-date software is available on the NZBGet site or the NZBGet github page.
Usenet Provider Recommendation:
UsenetServer: For optimal performance with NZBGet, we recommend using UsenetServer, known for its high retention rates, speed, and uptime.
Installation
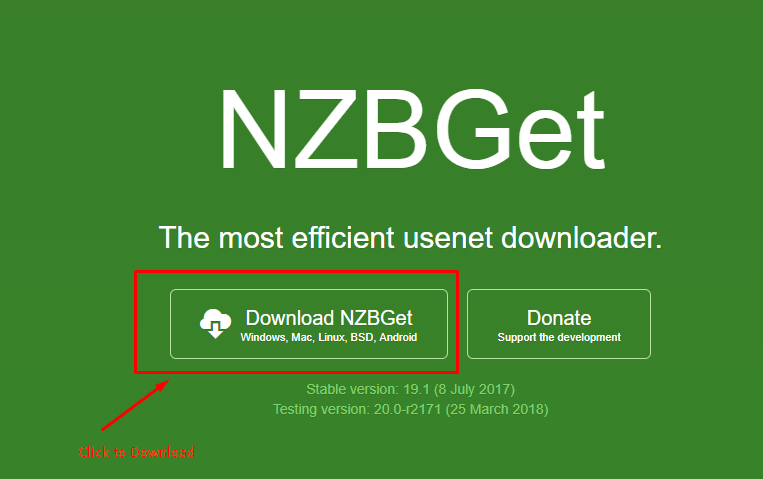
To install NZBGet, follow these steps based on your operating system:
- Visit the NZBGet homepage.
- Choose the package that matches your operating system:
- Windows: Download the installer.
- macOS: Download the ZIP file.
- Linux: Download the version compatible with your distribution.
- Source Code: Available for custom installations or other operating systems.
NZBGet
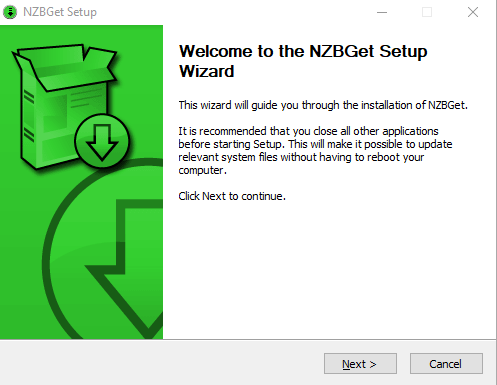
Once you’ve downloaded the program and installed it, it should open up, presenting you with the main screen.
Using the Program
By default, NZBGet will open on your localhost at port 6789. Here’s how to get started with the program:
- Accessing NZBGet:
- Open your web browser and go to http://localhost:6789.
- This will bring up the NZBGet web interface.
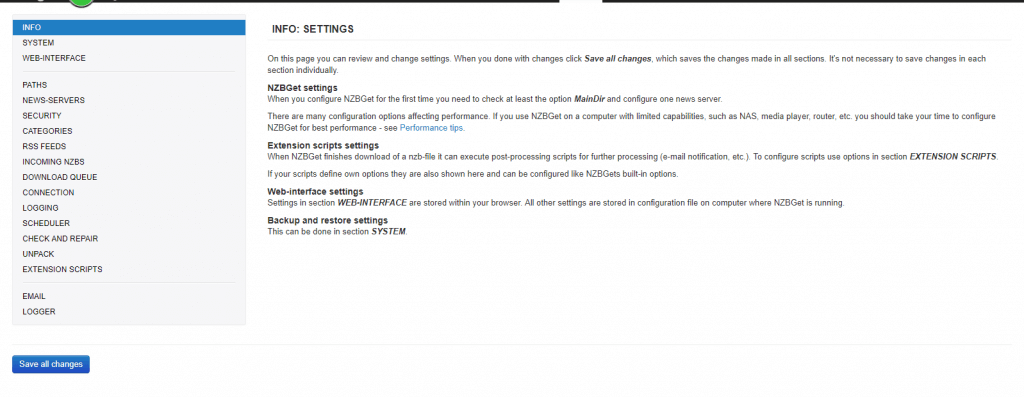
- The first thing you’ll want to do is set up your news server, which is located under “News-Servers”
- Go to the “News-Servers” section.
- Enter the following details:
- Hostname: The address of your Usenet server.
- Username and password: Your login credentials provided by your Usenet service provider.
- Encryption: Select whether to use SSL/TLS encryption for secure connections.
- Save the settings once you have entered all the necessary information.

- Adding NZB Files:
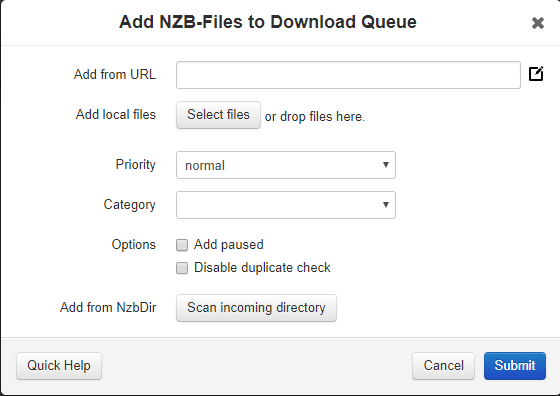
You can add NZB files to NZBGet in two ways:
- From a URL: Select the option to add an NZB from a URL and enter the link.
- From your local drive: Select the option to add an NZB from your local drive and upload the file.
Once you add the NZB file, NZBGet will automatically start downloading the content.
- Managing Downloads:
- You can monitor the progress of your downloads from the main interface.
- NZBGet will handle downloading, verifying, and repairing files as needed.
Technical Details
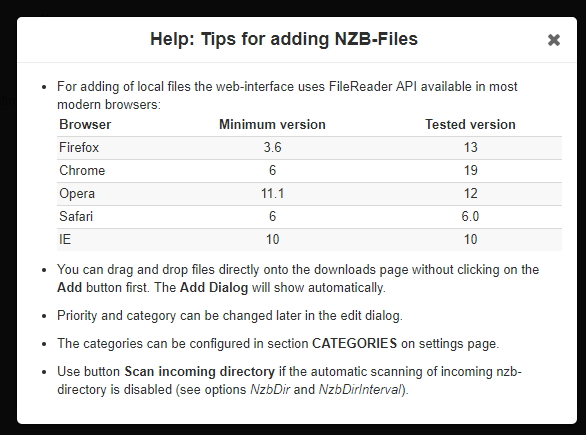
NZBGet lets you work from a web interface that gives you a basic, but really useful, set of controls. You can manage your feeds, start and stop downloads, add NZBs and handle just about anything else. You can repair files, unpacking and processing them. It will also handle automated downloads for you and it works with RSS feeds.
NZBGet is very flexible. You can control it remotely and can even use scripts to do so, if you’re technically adept. It does allow streaming.
NZBGET VERSUS SABNZBD
The other huge name in NZB downloaders is SABnzbd. Both SABnzbd and NZBGet have passionate user bases, but there are some differences that might make one more suitable for your needs, especially if you have less powerful hardware.
1.Resource Usage:
- NZBGet: Designed to be lightweight, NZBGet is more popular among users with less powerful machines. It consumes fewer system resources, making it ideal for older computers or devices like Raspberry Pi.
- SABnzbd: While still efficient, SABnzbd tends to use more system resources compared to NZBGet. It is, however, very robust and feature-rich.
2.Performance:
- NZBGet: Written in C++, NZBGet is optimized for performance and can handle any task most users require with minimal resource usage.
- SABnzbd: Built on Python, SABnzbd is highly versatile and integrates well with other Usenet-related apps.
3.Features and Functionality:
- NZBGet: Known for its simplicity and efficiency. It has a clean web interface, supports automated downloads, and can repair, unpack, and process files. It is also capable of remote control and scripting for advanced users.
- SABnzbd: Offers extensive customization options, multi-language support, and integrates seamlessly with popular Usenet apps like Sickbeard, Sonarr, and CouchPotato. It also supports a wide range of notifications and has a user-friendly interface.
4.Cross-Platform Support:
- Both NZBGet and SABnzbd are cross-platform, running on Linux, Windows, macOS, and various NAS devices. Both also offer mobile-friendly web interfaces for managing downloads on the go.
SUMMARY
NZBGet is an excellent program, and whether it or the other big name, SABnzbd, ends up being your preferred NZB downloader is likely to come down to your personal preferences more than anything else.
If you are using a machine that doesn’t have much in the way of power, however, NZBGet will probably offer you a smoother experience overall. It’s generally regarded as less user-friendly than SABnzbd, but opinions certainly differ on that point. You will need a Usenet Provider we recommend UsenetServer.
Also check out our list of Best Usenet Service Providers to find the provider that best suits your needs.